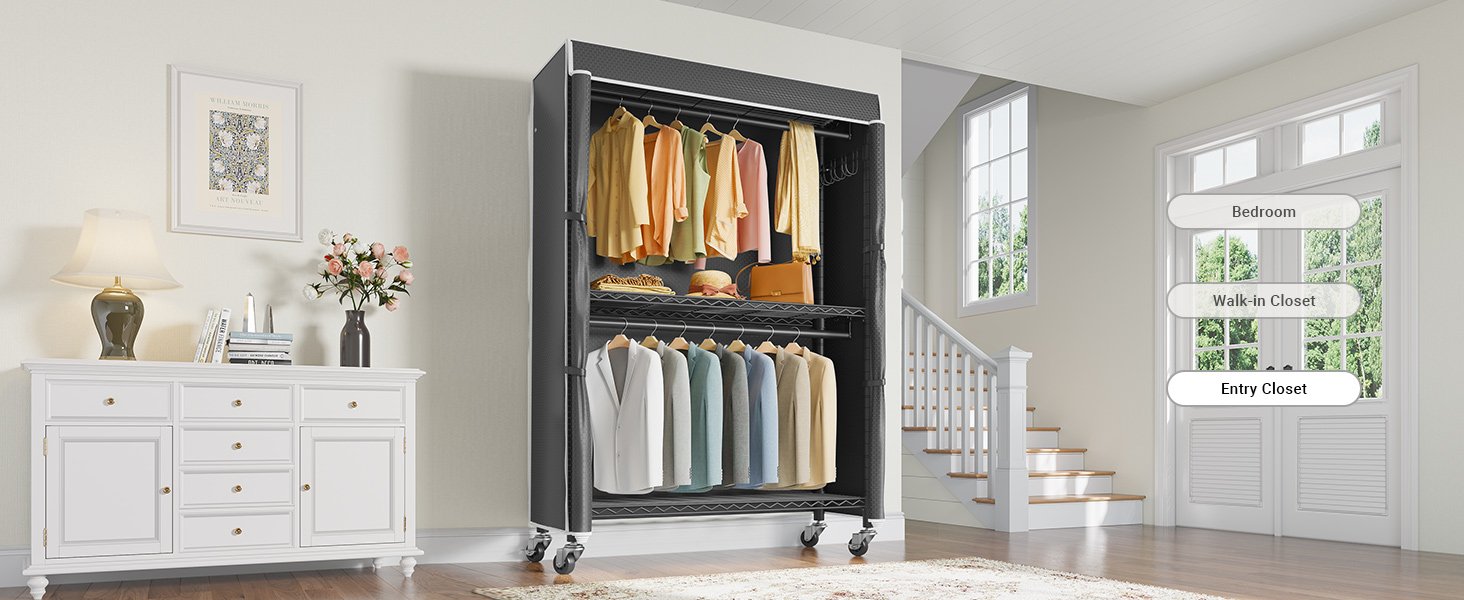
Portable Closet Instructions: A Step-by-Step Guide to Easy Assembly
Looking for portable closet instructions to help with assembly? Whether you’ve just purchased a new portable closet or are considering one, this guide will walk you through the steps to set it up easily. Let’s dive into the simple process to have your portable closet ready in no time!
Portable closet instructions typically involve organizing components, following step-by-step assembly, and securing shelves or rods. The process is straightforward, and you can have your closet set up within an hour, depending on the model. Make sure to follow the instructions carefully for the best results.
Understanding Your Portable Closet
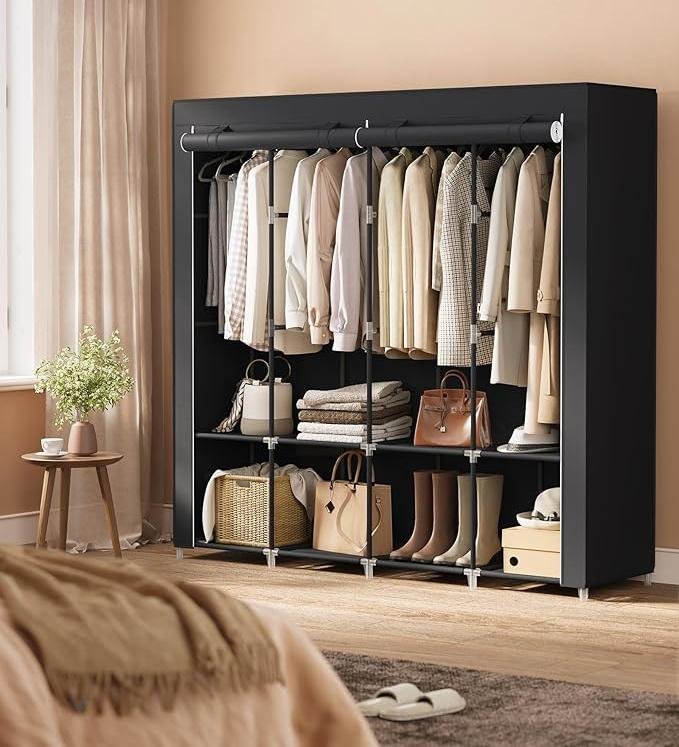
Before diving into the portable closet instructions, take a moment to understand the main components of your closet. A typical portable closet includes:
Cloth cover: Usually made from durable fabric like polyester or cotton, this cover protects your clothes from dust and moisture.
Metal or plastic frame: The frame supports the structure and is usually lightweight, making it easy to move.
Hanging rods and shelves: These are for organizing your clothes and accessories.
Having a clear idea of what each part does will make following the instructions much easier.
Step-by-Step Portable Closet Instructions
Now, let’s break down the portable closet instructions in easy-to-follow steps.
Step 1: Unbox and Lay Out Components
Start by unpacking all the parts. Lay everything out on the floor to ensure you have all the necessary pieces. This is where you’ll check for any missing or damaged components before you begin assembly.
Step 2: Assemble the Frame
Follow the instructions to assemble the frame. Most portable closets have a snap-together metal frame that requires no tools. Simply connect the poles by snapping them into place, ensuring they’re aligned correctly.
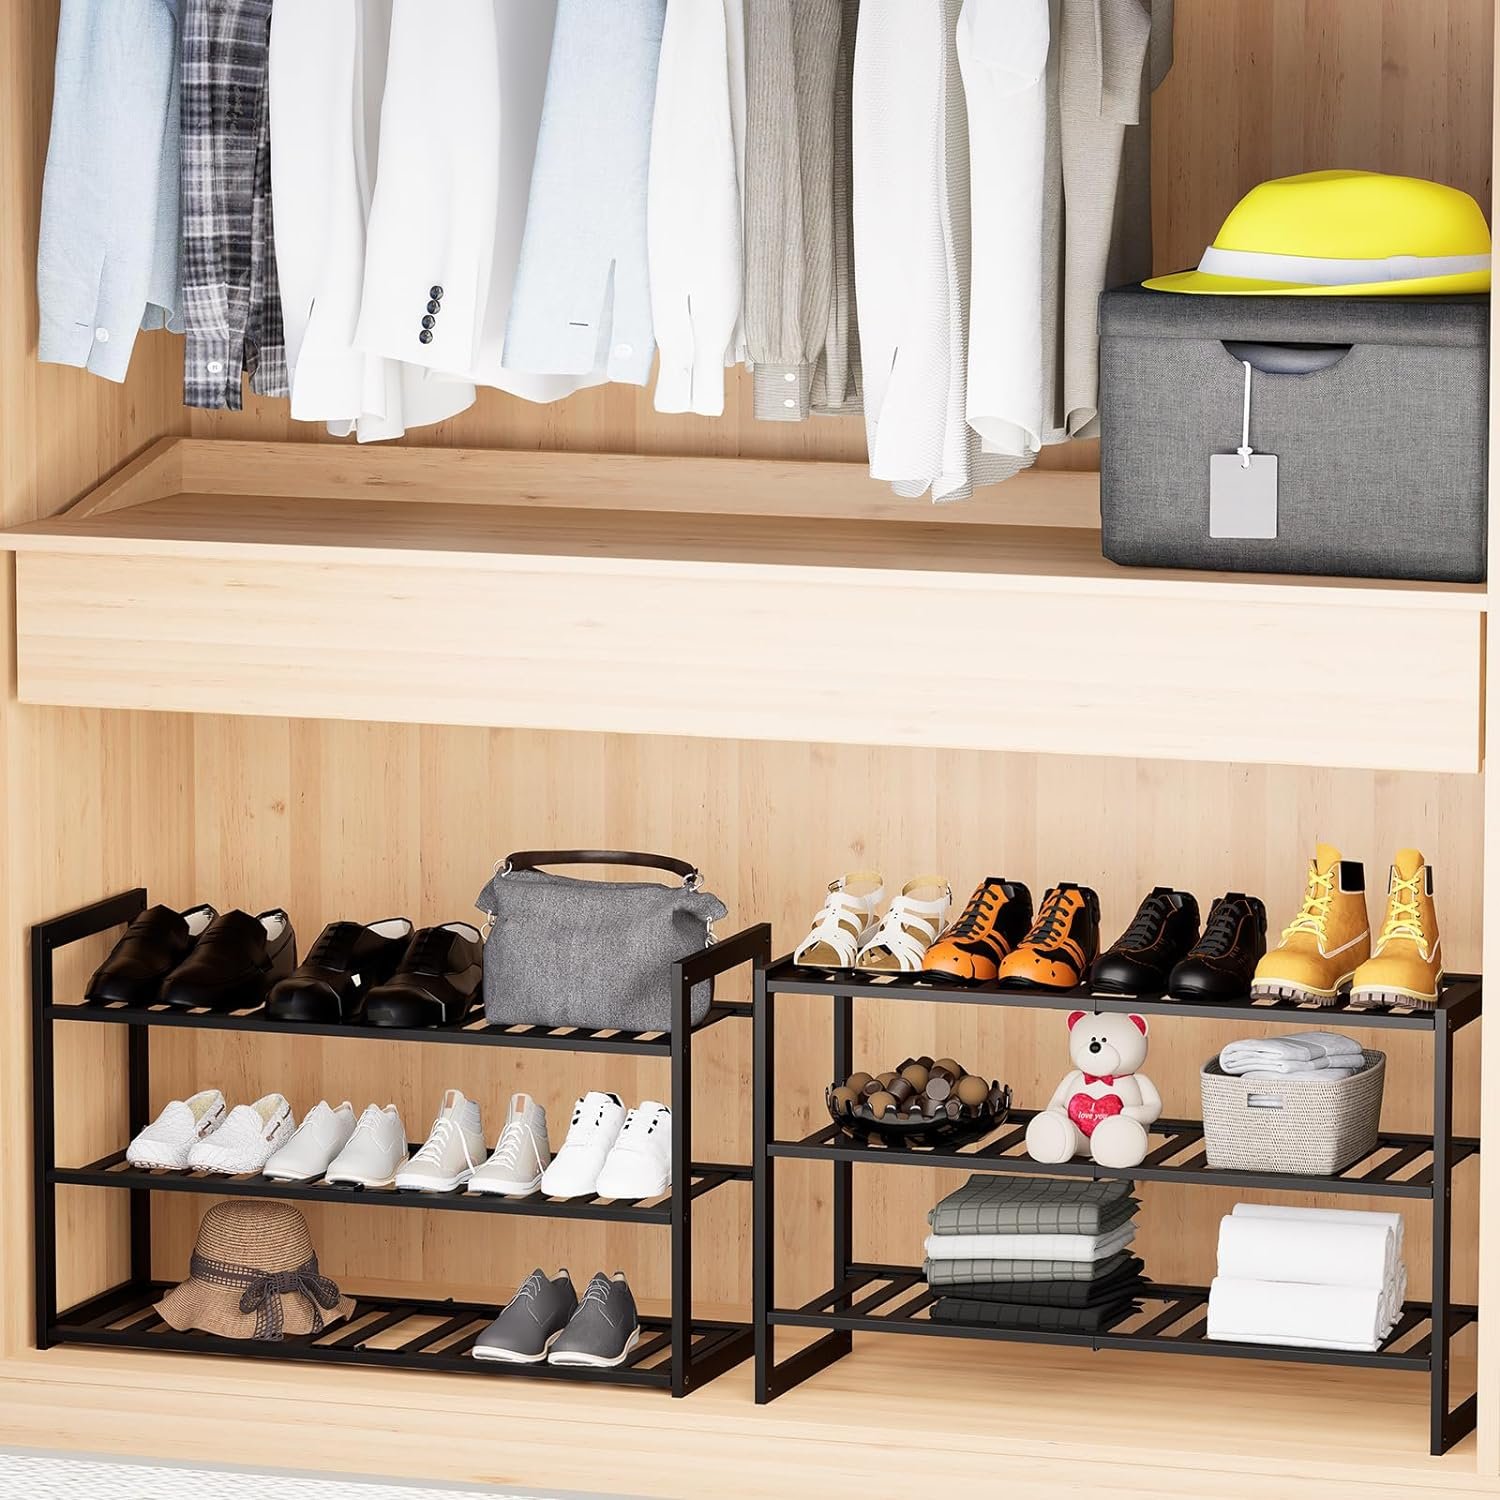
Step 3: Attach Shelves and Hanging Rods
Once the frame is assembled, you can add the shelves and hanging rods. Depending on the design, these may either slide into place or be attached with small screws. Make sure each shelf is securely placed to avoid sagging or shifting.
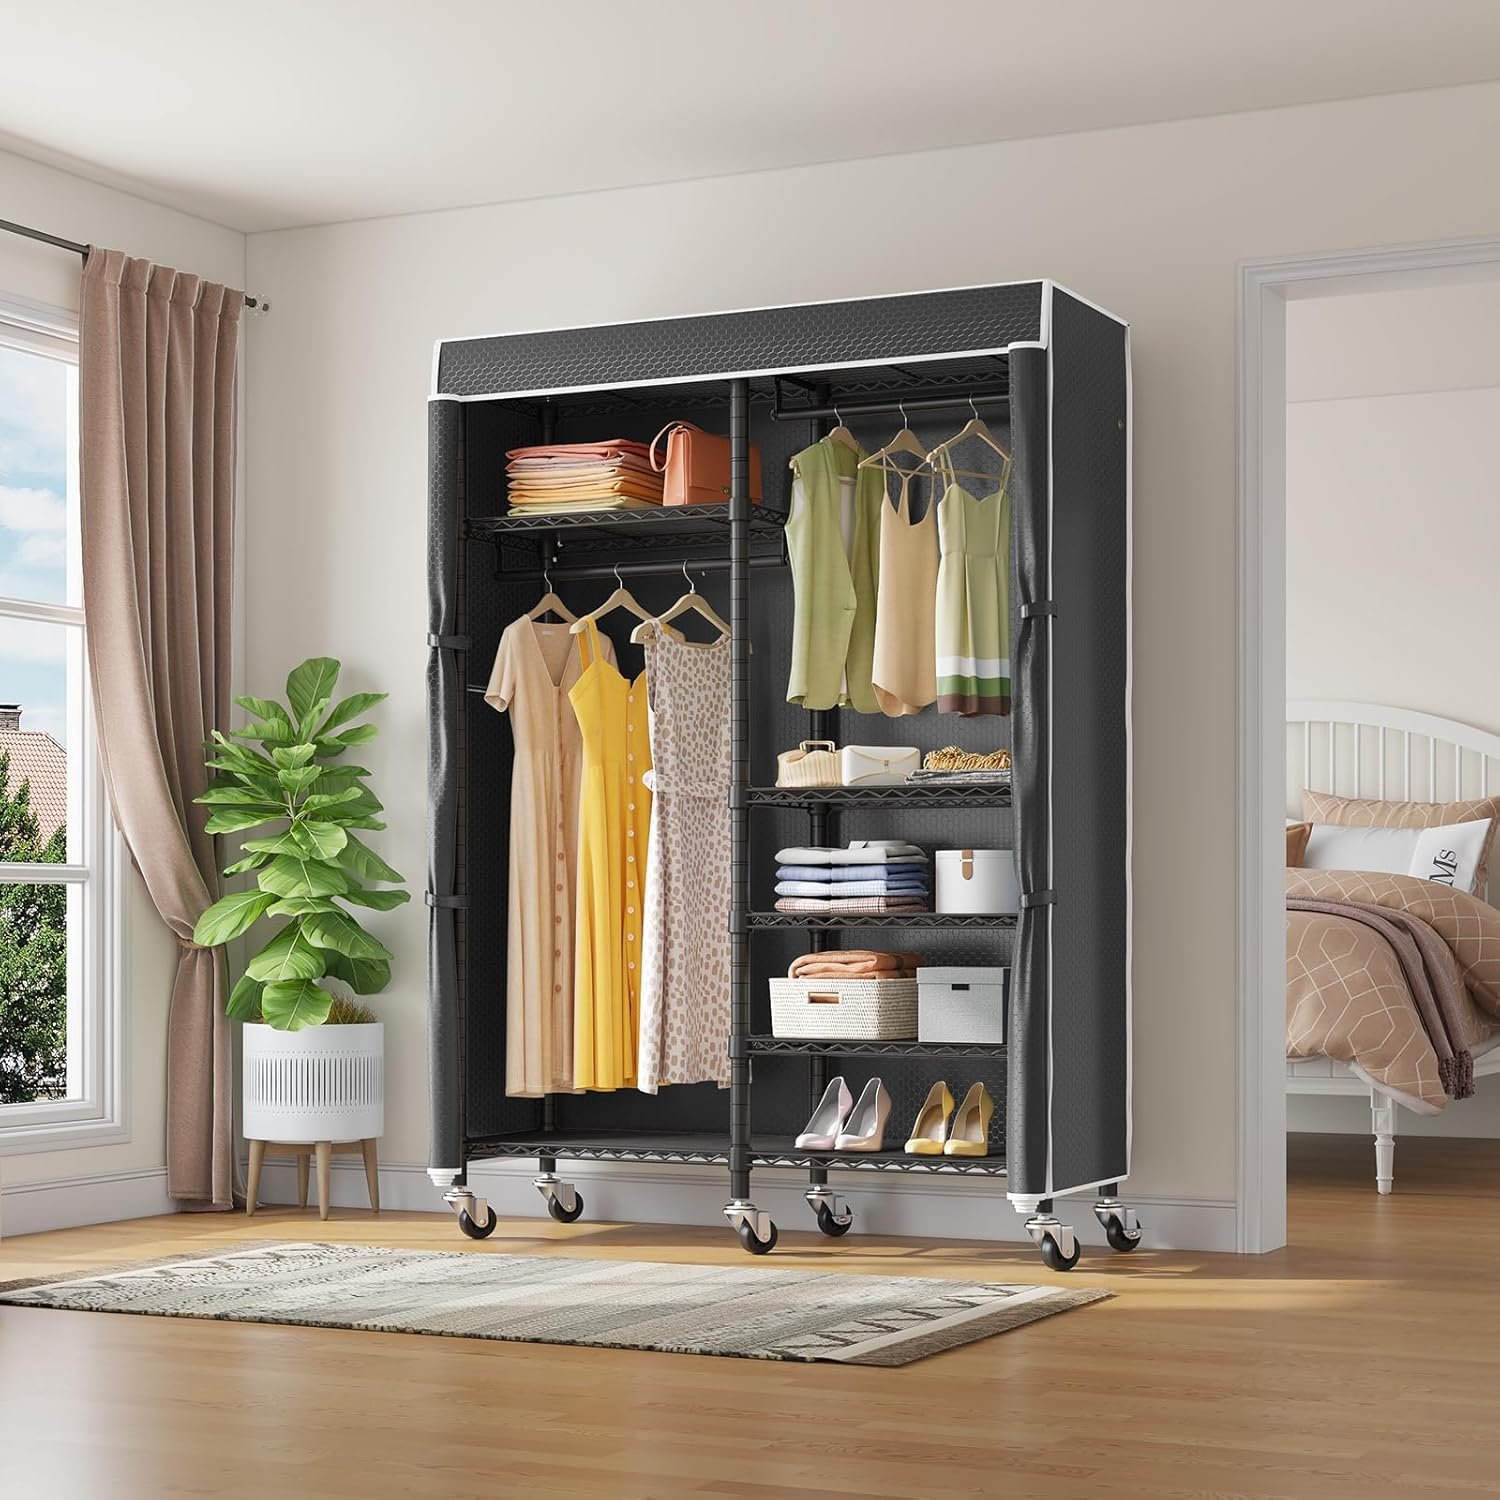
Step 4: Put On the Fabric Cover
After assembling the structure, it’s time to add the fabric cover. Drape the cover over the frame and zip or tie it according to the portable closet instructions. Some closets have a top panel, while others might have a full zipper that runs down the middle.
Step 5: Final Adjustments
Make any necessary adjustments to ensure the closet is stable. Check that the rods are aligned and the shelves are evenly spaced. If the closet has a door or flap, make sure it opens and closes smoothly.

Tips for Maintaining Your Portable Closet
Once your portable closet is set up, it’s essential to maintain it for longevity. Here are a few portable closet tips:
Weight Distribution: Avoid overloading the shelves, as this can cause the fabric to sag or the rods to bend. Balance the load evenly.
Keep it Clean: Regularly clean the fabric cover with a damp cloth to keep it looking fresh.
Avoid Heavy Items: While portable closets are convenient, they are best used for lighter clothing items and accessories.
Troubleshooting Common Issues
If you’re having issues with your portable closet, here are a few solutions:
Sagging Shelves: If the shelves start to sag, ensure that the frame is properly assembled and the load is evenly distributed.
Cover Problems: If the fabric cover is not fitting well, double-check that it’s properly attached to the frame and adjust it as needed.
Stability: If the closet feels unstable, make sure all connections are tightly secured, especially the rods and joints.

Conclusion
Following portable closet instructions can seem like a lot at first, but with these easy steps, you can have your new closet up and running in no time. Be sure to take care of your closet to extend its life, and if you encounter any issues, the troubleshooting tips should help you out. Happy organizing!