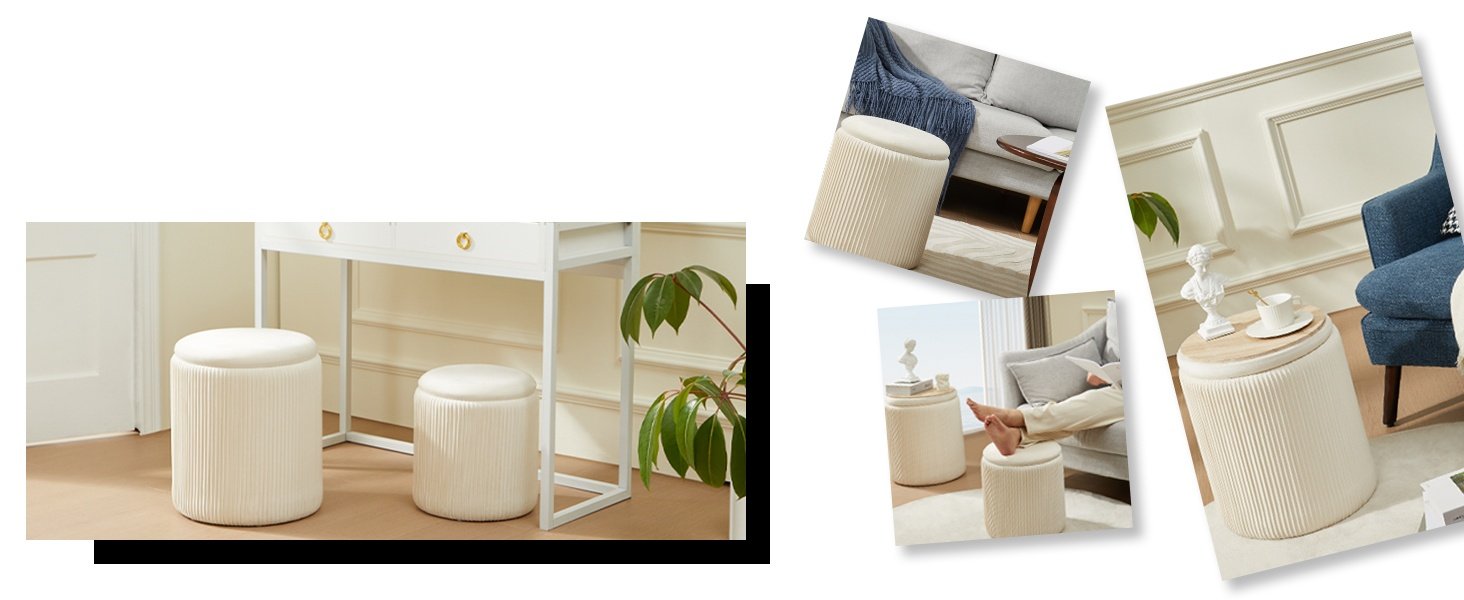
How to Reupholster a Storage Ottoman
Ever stared at your old storage ottoman and thought, “This thing could really use a makeover”? Well, you’re in luck! Reupholstering a storage ottoman is easier than you think and a fantastic way to refresh your space without spending a fortune. Let’s dive into how you can do it yourself and make your ottoman look brand new.
To reupholster a storage ottoman, start by removing the old fabric, adding or replacing padding if needed, and then securing the new fabric with a staple gun. It’s a simple process that involves basic tools and some creativity!
1. What You’ll Need to Get Started
Before jumping in, let’s make sure you’ve got all the right supplies. Trust me, having everything at your fingertips will make this process a whole lot smoother.
Materials:
– Fabric: Pick something you love! You’ll need around 1.5 to 2 yards, depending on the size of your ottoman.
– Batting or Foam Padding: Optional, but great if your ottoman could use a little extra cushioning.
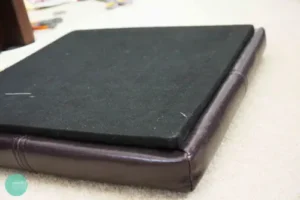
2. Strip Down the Old Upholstery
Alright, let’s get down to business. The first step is removing the old fabric.
Steps:
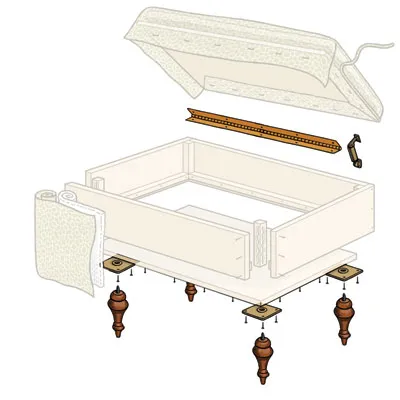
1. Flip the Ottoman: Turn it upside down and unscrew the legs or any other parts that might get in the way.
2. Remove Staples: Use pliers to carefully pull out the staples holding the old fabric. Go slow here—nobody wants a ripped ottoman frame.
3. Take Off the Fabric: Once the staples are out, pull the old fabric off. Save this fabric as a pattern for your new fabric—it’s the perfect template.
This part might feel like you’re dismantling the whole thing, but don’t worry—you’re setting the stage for something much better.
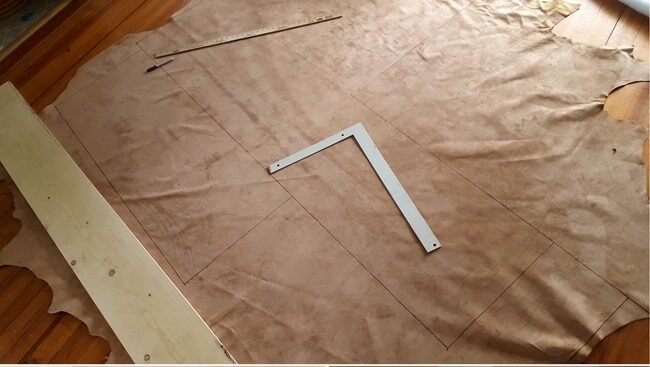
3. Measure and Cut Your New Fabric
This is where the magic happens. Pick a fabric that not only fits your decor but is also durable enough to withstand everyday use.
Steps to Cut the Fabric:
1. Lay Out Your Fabric: Spread your new fabric out on a flat surface, pattern side down.
2. Use the Old Fabric as a Pattern: Place the old fabric pieces on top of your new fabric and trace around them, adding about 2-3 inches on all sides for stapling.
3. Cut Carefully: Grab those sharp scissors and cut along the lines you’ve drawn.
Picking the right fabric is key here—it’s what will transform your ottoman from drab to fab!
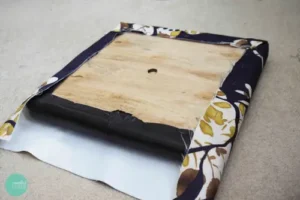
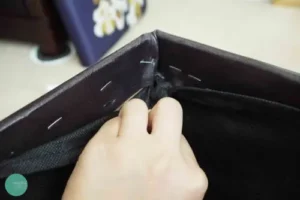
4. Attach the New Fabric
With your fabric cut, it’s time to upholster. This is the step where you’ll start seeing the transformation come to life.
How to Attach the Fabric:
1. Center Your Fabric: Place the fabric over the ottoman, making sure it’s centered. If your fabric has a pattern, adjust it so it’s aligned how you want it.
2. Start Stapling: Begin in the middle of one side, pulling the fabric taut but not too tight, and staple every few inches. Work your way toward the corners.
3. Handle the Corners: Corners can be a little tricky, but here’s a tip: fold them like wrapping a gift, tucking any extra fabric in neatly, and then staple securely.
The key here is to pull the fabric evenly and keep checking that it’s smooth.
5. Reassemble Your Ottoman
The hard part is over! Now, all that’s left is putting everything back together.
Steps to Finish:
– Reattach the Legs: Screw the legs back on securely.
– Final Check: Run your hands over the fabric, checking for any wrinkles or loose areas. Trim any excess fabric underneath, and you’re done!
Extra Tips for Reupholstering Your Ottoman
1. Choose the Right Fabric: Upholstery fabric is the best choice, as it’s designed to be more durable than regular fabric. Think cotton blends, faux leather, or heavy-duty linens.
2. Don’t Rush the Corners: Corners can make or break the look of your ottoman. Take your time folding and stapling until they look neat.
3. Add Personal Touches: Consider adding decorative buttons, tufting, or trim for a custom look. These little details can take your ottoman from simple to stunning.
4. Watch DIY Videos: If you’re feeling unsure, check out a few YouTube tutorials. Seeing someone else do it can give you the confidence boost you need.
Final Thoughts
Learning how to reupholster a storage ottoman is a fantastic way to refresh your home without spending a lot of money. It’s an easy project that anyone can tackle with a bit of patience and the right tools. So grab your materials, roll up your sleeves, and let your creativity shine. By following these steps, your newly reupholstered ottoman will not only look great but will also bring a sense of accomplishment every time you see it.