How to Assemble Portable Wardrobe: A Step-by-Step Guide
Assembling a portable wardrobe can feel like a daunting task, but trust me, it’s easier than you think! Whether you’re setting up extra storage space or organizing your clothes on a budget, knowing how to assemble a portable wardrobe can save you time and frustration. Let’s dive into the process!
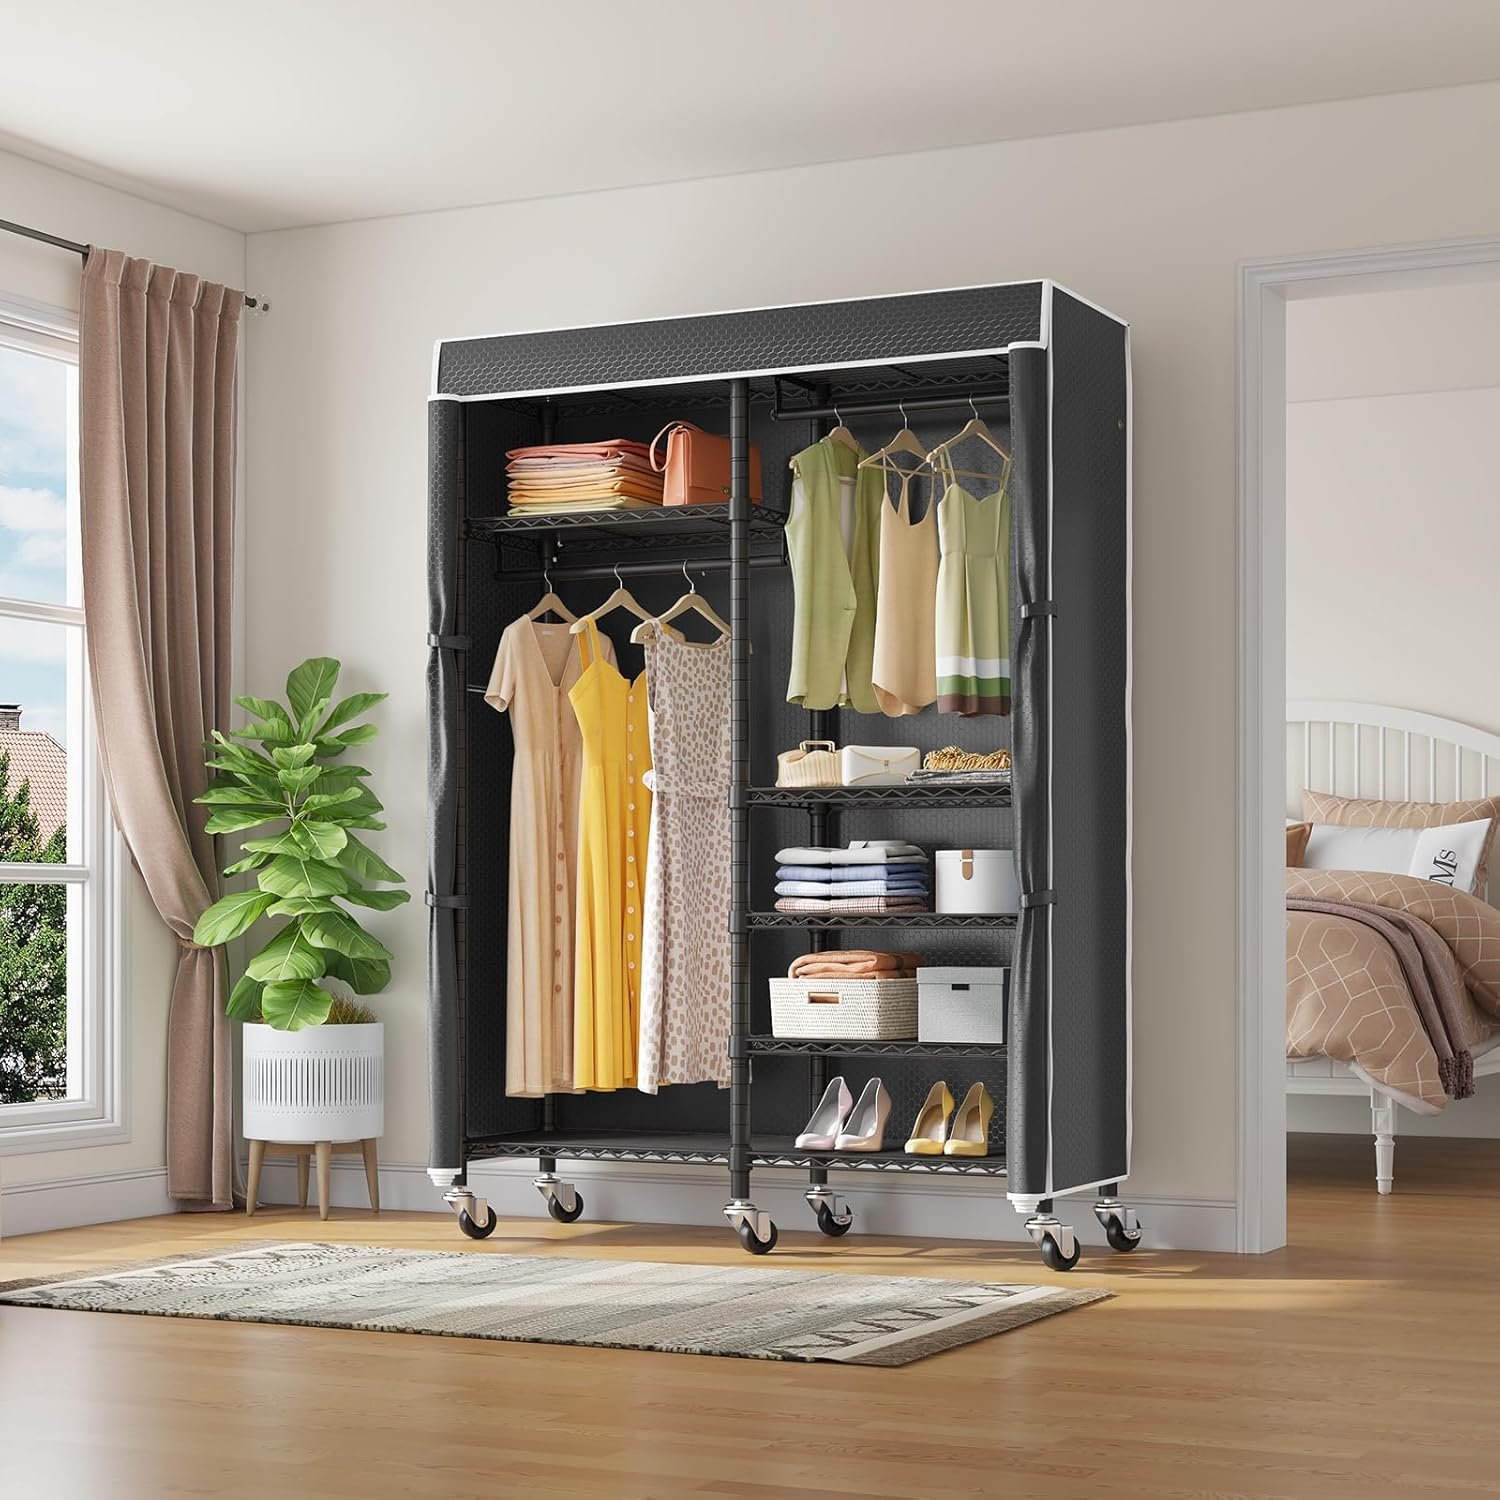
To assemble a portable wardrobe, start by unpacking all parts and checking the manual. Connect the frame by joining the rods with connectors, secure the shelves, and cover it with fabric. Ensure all connections are tight to prevent wobbling. Follow specific instructions for your model for best results.
Step-by-Step Guide to Assembling a Portable Wardrobe
1. Unpacking and Organizing Parts
First things first: unpack everything from the box and lay it out. Trust me, there’s nothing worse than getting halfway through only to realize you’re missing a piece. Portable wardrobes usually come with metal or plastic rods, connectors, fabric covers, and shelves.
– Check the Instruction Manual: This might seem obvious, but many of us (including me!) tend to skip this step. Take a quick glance to ensure you know what goes where. Some models have unique connectors or special instructions, so make sure you’re familiar with them.
2. Assembling the Frame
The frame is the skeleton of your wardrobe, so getting this right is key.
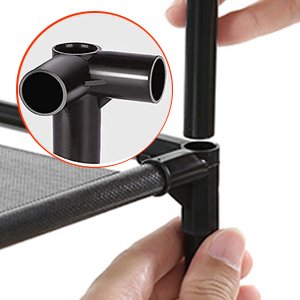
– Start with the Base: Begin by connecting the rods that form the base. Insert the rods into the corresponding connectors as per the instructions. Make sure the base is level and stable before moving on. This is crucial for the overall stability of your wardrobe.
– Build the Vertical Structure: Next, add the vertical rods to build up the sides. Depending on your wardrobe model, this step might involve inserting rods into corner connectors. The goal is to create a sturdy rectangular frame.
– Top It Off: Connect the top rods last to complete the main frame. If your model has an adjustable height, ensure you’re setting it to your desired height before tightening the connectors.
3. Securing Shelves and Hanging Rods
Now that your frame is ready, it’s time to add shelves and hanging rods.
– Install Shelves: Portable wardrobes often come with flexible shelves that you can place at different heights. Attach these by securing the supporting rods across the width of the wardrobe. Ensure the shelves are evenly spaced and stable enough to hold your items.
– Attach Hanging Rods: If your wardrobe includes hanging space, insert the hanging rods into the designated connectors. These rods are perfect for hanging clothes and should be positioned at a height that allows easy access.
4. Covering the Wardrobe
The fabric cover is not just for looks—it keeps dust out and gives your wardrobe a clean, finished look.
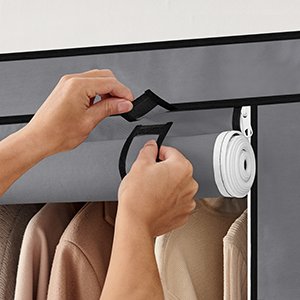
– Drape the Cover: Start by draping the cover over the frame. Pull it down evenly so that it sits nicely without sagging. Many covers come with zippers or Velcro straps to secure them in place. Make sure these are aligned properly.
– Secure the Cover: Most covers have ties or clips at the bottom to secure them to the frame. This keeps the cover tight and prevents it from shifting when you open or close the wardrobe.
5. Final Adjustments and Stability Check
The last thing you want is a wobbly wardrobe. Here’s how to ensure everything is stable.
– Tighten All Connectors: Go back and double-check that all connectors are secure. Loose connections can cause the structure to shift or collapse, especially when loaded with clothes.
– Adjust Shelves and Rods: Make sure shelves are level and rods are firmly in place. Adjust as needed to ensure a perfect fit.
– Test Stability: Gently push and pull the wardrobe to test its stability. If it wobbles, double-check the base and tighten any loose connectors.

Tips for Maintaining Your Portable Wardrobe
1. Avoid Overloading
Portable wardrobes are designed for light to moderate use. Overloading shelves or hanging rods can lead to sagging or frame instability. Keep an eye on the weight limits specified by the manufacturer.
2. Regularly Tighten Connectors
With use, connectors can loosen over time. Regularly check and tighten these to maintain the stability of your wardrobe.
3. Clean the Cover Periodically
Dust and dirt can accumulate on the fabric cover. Wipe it down occasionally with a damp cloth or, if removable, wash it according to the care instructions.
4. Check for Wear and Tear
Inspect your wardrobe periodically for signs of wear, especially around connectors and fabric seams. Address any issues early to extend the life of your wardrobe.

Conclusion
Assembling a portable wardrobe doesn’t have to be a headache. By following these steps, you can set up your wardrobe quickly and efficiently, making it a valuable addition to your home. Whether you’re using it for seasonal storage or organizing your daily outfits, mastering how to assemble a portable wardrobe will save you time and hassle. So, grab those rods and connectors, and let’s get building!

