How to Assemble a Clothing Rack: A Step-by-Step Guide for Beginners
Ever wondered how to assemble a clothing rack without the frustration of misplaced screws and wobbly frames? Trust me, I’ve been there! Whether you’re looking to organize your closet or need extra space to showcase your garments, assembling a clothing rack doesn’t have to be complicated. Let me walk you through a simple, easy-to-follow guide that will save you time and effort.
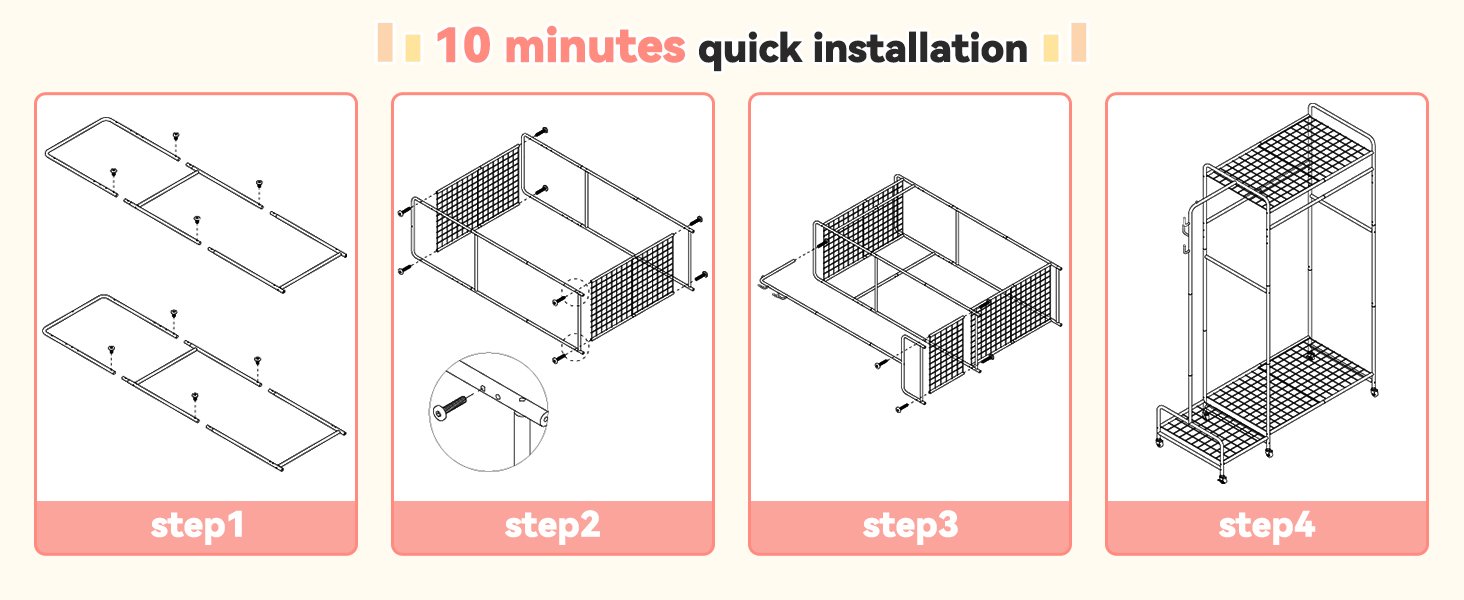
To assemble a clothing rack, start by laying out all the parts, then follow the manufacturer’s instructions to connect the base, vertical poles, and hanging rods. Secure the structure with screws or clips, ensuring everything is tightly fastened before adding your clothes.
Stick around because I’ll go over each step in detail, giving you tips and tricks for a smooth assembly process. You’ll also learn how to avoid common mistakes and keep your garment rack sturdy.
Step-by-Step Guide to Assembling a Clothing Rack
1. Unbox and Lay Out All Parts
Before diving into assembly, the first thing you’ll want to do is lay out all the pieces of the clothing rack. This includes the base, vertical poles, horizontal rods, screws, and any clips or connectors. You’ll also need basic tools like a screwdriver (if not provided). Double-check the instruction manual to make sure all parts are accounted for—missing pieces could really slow you down.
Why is this important? Because nothing is more frustrating than getting halfway through the process only to realize you’re missing a crucial piece. So, before you do anything else, take a few minutes to organize everything.
2. Attach the Base to the Vertical Poles
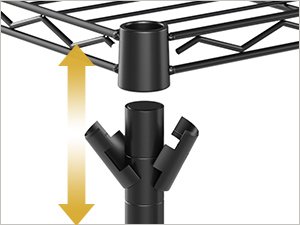
The base is the foundation of your clothing rack, and it’s essential to get this part right. Most racks have two horizontal bars that form the base. Attach the vertical poles to these bars by sliding or screwing them into place.
Tip: Make sure to tighten the screws well—wobbly racks are often a result of loose connections at the base. Some clothing racks have adjustable feet or wheels, which can be attached now. If your rack has wheels, make sure they’re secure, especially if you plan to move the rack around frequently.
3. Assemble the Top Hanging Rod
Once the base and vertical poles are secure, the next step is to attach the hanging rod. This is where you’ll actually hang your clothes, so it needs to be sturdy. Depending on your model, the rod may either click into place or require screws to attach to the top of the vertical poles. Make sure the rod is level and securely fastened.
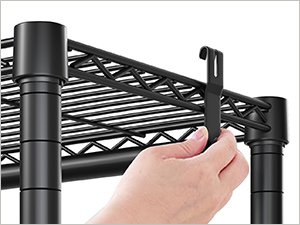
Some racks also offer additional hanging options like side hooks or secondary rods, which can be attached at this stage. If your clothing rack has these, follow the same process of securely tightening the screws or clips.
4. Secure and Double-Check Stability
Now that the main structure is assembled, it’s time to make sure everything is secure. Give the rack a gentle shake to check for any wobbly areas. If the rack moves too much, go back and tighten the screws or recheck the alignment of the poles.
For extra peace of mind, you can even use a level to ensure the horizontal rods are straight. This can prevent any weird tilts when you load it with clothes later on. After all, a crooked clothing rack isn’t just unsightly—it can also cause your clothes to slide off.
5. Optional: Add Additional Accessories
Some garment racks come with extra features like bottom shelves for shoes or side hooks for bags and accessories. If your rack includes these, now is the time to attach them. Bottom shelves are typically installed by sliding them between the vertical poles, while hooks can usually be screwed or clipped onto the sides.
Accessories like these can maximize the functionality of your rack, especially if you’re short on storage space. Just make sure you don’t overload the rack beyond its weight limit—most standard racks can hold around 50-100 lbs of clothing, so be mindful of what you’re hanging.
Conclusion
Assembling a clothing rack may seem like a daunting task, but with the right approach and a bit of patience, it’s a simple, rewarding project. By following the steps I’ve outlined, you’ll not only have a sturdy rack to organize your clothes, but you’ll also avoid common mistakes that can lead to wobbly, unstable frames. Whether you’re outfitting a walk-in closet or setting up a portable garment rack for events, knowing how to assemble a clothing rack will save you both time and headaches. So, are you ready to get started? Your organized space is just a few steps away!


